Prerequisites
(1) We need to make sure that timer job is running from:
Administrative Tools >> Services >> Windows SharePoint Services Timer

If service is not started please start it.
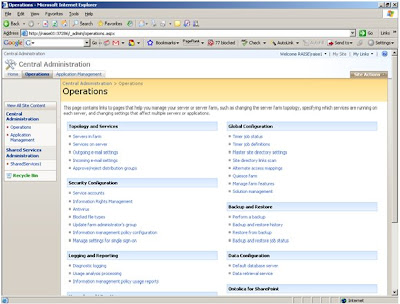
(2) Check whether solution is deployed or not.
From - Central administration >> Operations >> Solutions
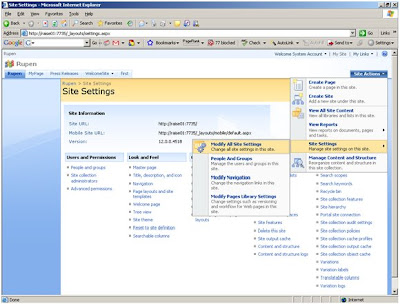
(3) If it is deployed then they can go ahead and activate feature manually by going to site collection
Site Actions >> Site Settings >> Modify All Site Settings >> Site Collection Features.
Working with Maven Infosoft’s MOSS Mini Calendar
There is often need to share information about important dates, appointments and meetings. The Maven Infosoft’s MOSS Mini Calendar provides all information.
When you import Maven Infosoft’s MOSS Mini Calendar on site it looks like as follows:
 (Fig. 1)
When click on Modify Shared Web Part (right top corner) of Fig. 1, it looks like as follows:
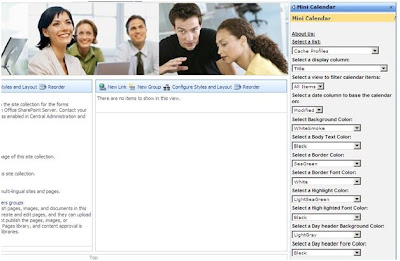 ( Fig. 2 )
What you see on right side of Fig. 2 are custom properties of the mini calendar.
1. About us: When click on this, it displays Maven Infosoft’s details in popup window.
2. Select a list: It contains variety of contents like documents, form and templates, master page gallery, web part gallery etc.
3. Select a display column: It contains different columns like name, title, created by, modify by related to selected list item. What you want to display on calendar please select from this list.
4. Select a view to filter calendar items: select which items to display related to calendar item.
5. Select a date column to base the calendar on: Means which items to display related to date column (e.g. created, modify).
6. Select a Background Color: It sets calendar date cells background color.
7. Select a Body Text Color: It sets calendar date cells text color.
8. Select a Border Color: It sets calendar border color. It also sets calendar’s title back color.
9. Select a Border Font Color: It sets calendar’s title fore color.
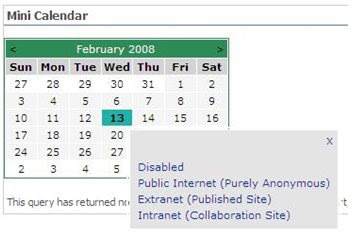
10. Select a Highlight Color: It sets color on that cells where there are some events display in popup window by moving mouse over on cell as follow -
Highlight Color
11. Select a Highlight Font Color:
Highlight Font Color
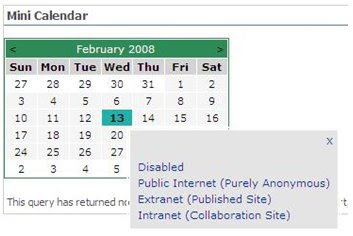
12. Select a Day Header Background Color: It sets the calendar’s day header background color.
Day Header Background color
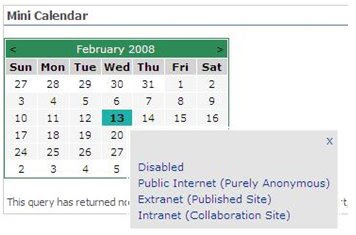
13. Select a Day Header Fore Color: It sets the calendar’s day header font color.
Day Header Fore color
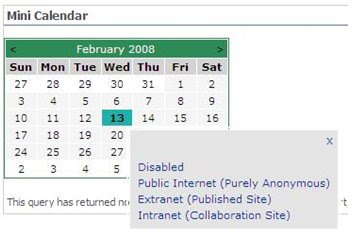
By setting all above properties, click on OK button it display as Fig.1. Now When you take mouse over the highlight cell it display popup window as follow –
When click on any items it goes to that particular page.


No comments:
Post a Comment